Installation
Installing a Murano chandelier is simpler than it looks. The glass and frame are more robust than you might think — it's just a matter of following the right sequence.
Step 1
Ceiling attachment
The simplest starting point is a hook mounted in the ceiling. Keep in mind that our chandeliers are relatively heavy due to the glass, so the hook must support sufficient weight. If in doubt, consult an electrician or other qualified professional.
Step 2
Which frame do you have?
Option A
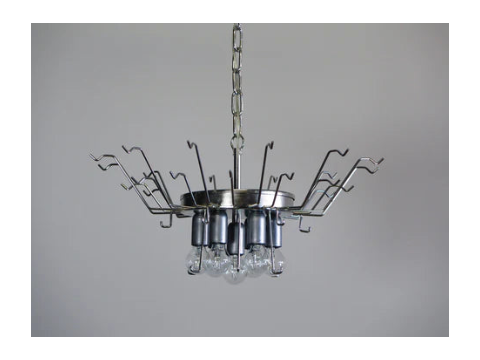
single frame
If your chandelier has one continuous frame — for example a model with 36 arms — no assembly is required.
Hang the frame on the hook and attach the glass pieces.

Option B
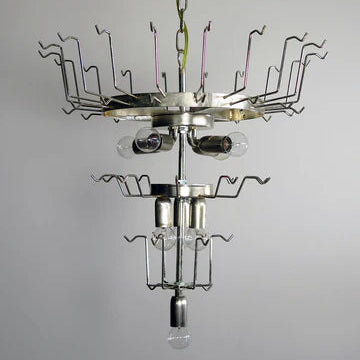
Multi-part frame
Some models come with a frame that needs to be assembled from several parts. These are connected using the included rods and nuts. An adjustable spanner, fixed spanner or pliers will do the job.
Step 3
Adjust the chain
To adjust the hanging height of your chandelier, open the chain links as needed. We recommend using 2 pairs of pliers and firm force. It helps to first remove the canopy at the end of the cable — this makes it easier.
Step 4
Attach the glass
Once all the glass pieces are in place, your chandelier is ready to illuminate the room. Turn on the light and enjoy the result — a genuine piece of Italian craftsmanship, now in your home.
Choosing a light bulb
The right bulb affects how the glass sparkles, how warm the light feels and how well you can dim it. Frames are normally fitted with E14 or E27 sockets. Check your model before purchasing. For E27 sockets, a smaller bulb shape is recommended so the glass does not touch the frame. Max 40 W per socket regardless of bulb type.
Kelvin – colour temperature
1800–2200 K – extra warm and intimate. Maximises the glow in the glass
2700 K – classic, warm white. A safe choice for everyday use
3000 K+ – more neutral and cooler. Not recommended for Murano glass
Lumen – brightness
250–400 lm per bulb suits most setups with a dimmer
470–600 lm gives more output — use a dimmer for flexibility
Wattage and heat
LED at 3–6 W delivers 250–600 lm with very low heat and is what we recommend. Incandescent and halogen bulbs produce beautiful light but generate significantly more heat.
Dimming
Always choose dimmable bulbs. Dim-to-Warm bulbs (1800–2700 K) produce warmer light as you dim down.
Clear or frosted bulb
Clear/filament gives maximum sparkle and play in the glass
Frosted/opal gives softer, more even light with less glare
Recommended bulbs
LED E14, 2700 K, clear, dimmable: Osram LED Cl B 40 Klar Dim E14
LED E27, 2700 K, clear, dimmable: Osram LED Cl P 40 Matt E27 Dim
LED E14 filament premium: LEDVANCE/Osram SUPERSTAR+ CL B FIL 3.4 W / 927
Extra warm ambience: Spectrum LED E14 1800 K, approx. 540 lm
Classic glow: Clear twisted candle bulb E14 40 W
Questions about installation or light bulbs?